Just a little ole working gal, who loves food

Friday, July 29, 2011

Mini Lemon Meringue Pies!

Friends of ours celebrated their recent engagement last weekend with a lovely backyard BBQ....and I, being the baker that I am...insisted on bringing a sweet treat for dessert!!

I wanted something light, summery and pretty generic so that most people would enjoy it (and not so fancy that it would take away from the AWESOME cake that a bridal party member brought). My husband was insisting on key lime pie (one of his favourites), but a pie doesn't really feed 20 people...so then came the idea of doing mini pies! And since I REALLY didn't feel like juicing a million teeny tiny key limes, I made Lemon Meringue instead. Complete success and super easy to make too!!

Mini Lemon Meringue Pies

You can make your own tart crust, but I was on a time crunch...and the store bought frozen mini-tarts worked perfectly (and tasted great too!)
Bake these according to package instructions and set aside to cool completely. In the meantime, make your filling!
For the Lemon Curd Filling you will need:

1/2 Cup butter, cubed
2/3 Cup sugar
1/2 cup fresh squeezed lemon juice
1 Tbsp lemon zest 7 large egg yolks (reserve 2 of the egg whites..you can freeze the rest)
Also have ready a large bowl with ice and water. I like to have all the ingredients ready and measured out before I start as this recipe comes together very quickly.

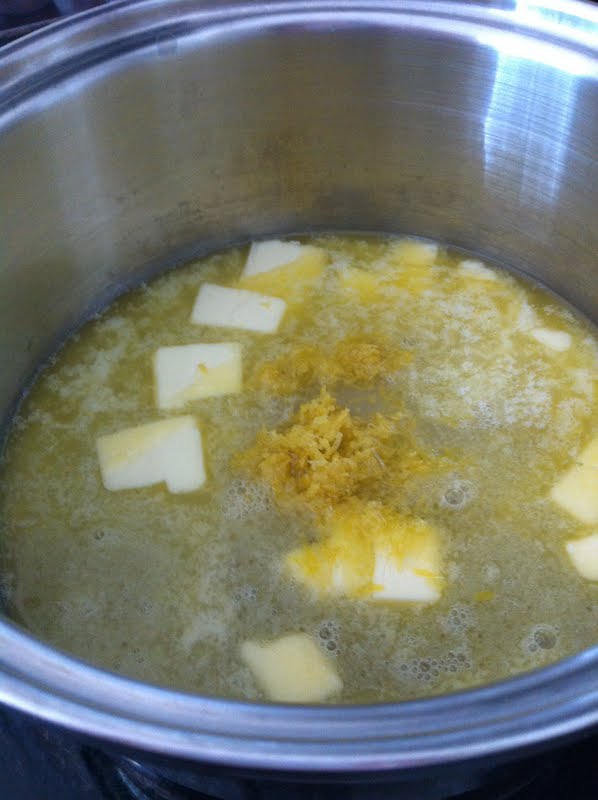
In a saucepan melt half of the butter with half of the sugar, the lemon juice and the zest. Bring to a boil over medium heat, gently stirring until the sugar dissolves.
In another heatproof bowl combine your egg yolks with the remaining sugar. You do NOT want to throw this in the hot lemon liquid...you will get yourself some very lemony scrambled eggs this way! You want to temper the mixture by gradually adding some of the hot lemon mixture to your egg yolks...a small ladle full at a time while whisking constantly. Keep on doing this until the yolk mixture starts to feel warm to the touch...then add to the lemon mixture.
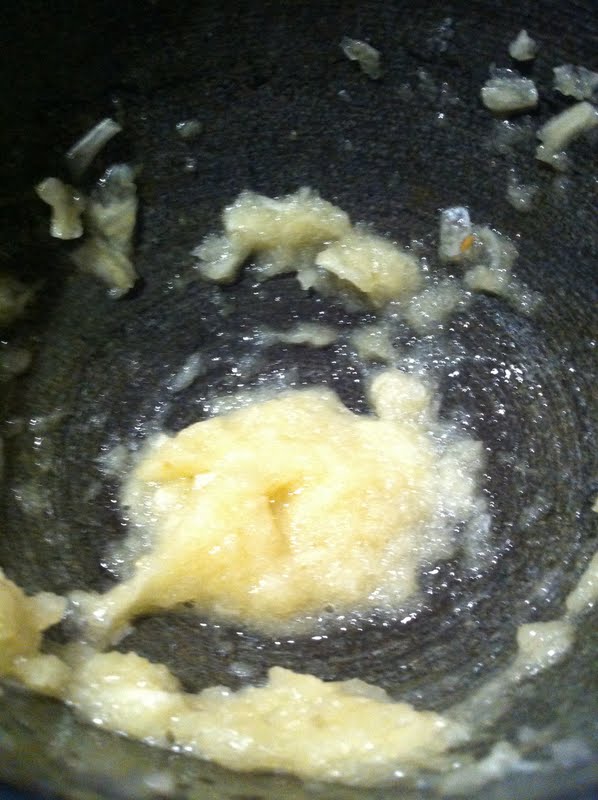
Lower the temperature and let mixture come to a simmer, still whisking constantly. It will take about 2 to 3 minutes for the mixture to thicken.
Once it starts to thicken add the remaining butter and whisk into the mixture.
Pour the lemon curd into a shallow bowl and place over the prepared ice bath. stir the curd constantly until it comes down to room temperature.
Spoon or Pipe the lemon curd into your mini tart shells. I piped in the curd as the shells were teeny tiny bite size and I wanted a clean presentation with no drops all over the place. If you don't have a piping bag, I have used a large freezer bag with the bottom corner cut off. At this point you can store your tarts in the fridge for up to a week. But when you are ready to serve, you have to make the meringue!
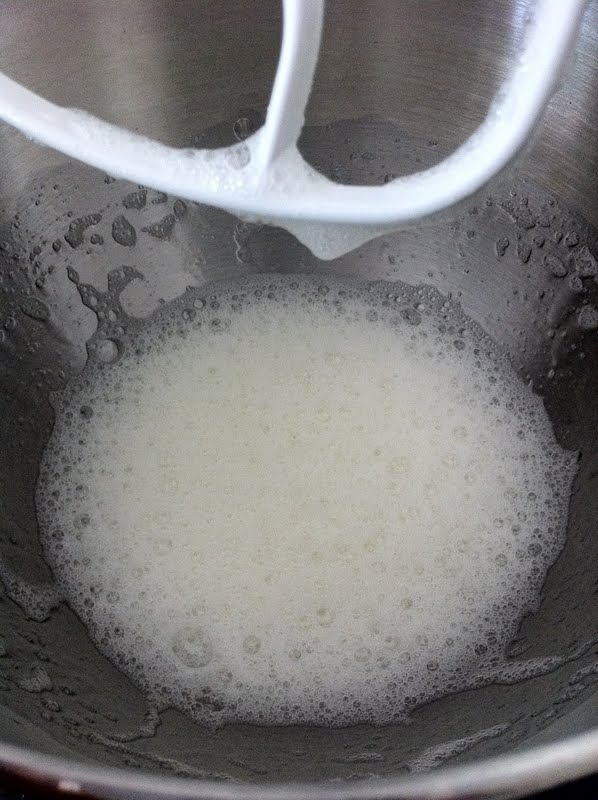
Using your 2 reserved egg whites, Beat them on high speed until they become frothy like the picture above. Gradually add in 2/3 cup of granulated sugar and beat on the highest speed for about 5-8 minutes.
Your meringue should be glossy and have stiff peaks when you lift the beater. Spoon or Pipe (again, I piped for a pretty presentation) the meringue on your prepared tarts.
Using a hand held torch, lightly brown the tops of the meringue, or place under the broiler for a couple of minutes. These were fantastic. I ate about 6 that evening...no joke.
Happy long weekend!!!

Wednesday, July 27, 2011

Corn on the Cob with Chipolte Butter

Since its Wednesday

And I am tired and lazy and wish it was Friday

I am going to post a super easy mid-week side dish!

Enjoy!

 Prepare and cook your corn as desired. I usually enjoy grilled corn, buuutttt we ran out of propane...so boiled it is!
 Take a 1/4 cup of butter at room temperature and whip it until light and fluffy.
 Add the juice of 1 Lime
 And one of these babies. I found them in the Mexican aisle at my local grocery store.
 Mince it up. This adds a rich smokey flavour to the butter. So yum!
 Combine all the ingredients and refrigerate until ready to use.
 Happy Wednesday!

Monday, July 25, 2011

Lebanese Spiced Chicken Shawarma

Potluck events in my family are always a multi-cultural affair. I have a very large immediate family with
lots of uncles and aunts who married men and women from different countries. I have aunts and uncles from
 Poland, Cuba, Venezuela, Trinidad, and Lebanon. My Lebanese aunt recently had our family over and
she made some pretty delicious food from her culture...and she also taught me some tricks that I
 incorporated into my cooking. Turned out to be a pretty yummy meal!
 You will need a lot of lemons and garlic for both the sauce and marinade.
 For the marinade you will need the juice of 2 lemons, 2 tbsp olive oil, 1 tsp sea salt, 1 tbsp Lebanese 7 spice and 6 garlic cloves minced (less if you are not a garlic fan).
7 spice is comprised of equal parts Black Pepper, Nutmeg, Allspice, Cinnamon, Ground Cloves, Fenugreek and Ground Ginger. I used my mortar and pestle to grind up all the spices myself...but in the future I will just buy them already ground up...my arm is still sore.
 thinly slice 5 chicken breasts and cover in the marinade. Refrigerate overnight. When you are ready to cook spread the chicken out on a baking sheet and bake in the oven at 375F for about 30 minutes, tossing the chicken around every 10 minutes or so.
 While the chicken is cooking you can get your Tahini sauce ready. In your mortar and pestle take 2 chopped garlic cloves and sprinkle in some sea salt. Grind the garlic until it forms a paste.
 Garlic paste!!
 In a bowl pour out 1 1/2 cups prepared Tahini.
 Add your garlic paste and the juice of 2 lemons and with a spoon start combining. Add a little water if the mixture is too thick...you want it to be the consistency of thick mayonnaise.
 The tahini should also start changing colour and will end up being an off-white. Check for seasoning and add more salt/lemon/water if needed.
 Once ready add in a handfull of chopped parsley. Sauce is ready!
 I like to serve the chicken with an array of chopped veggies, feta, warm pita and hummous
 When the chicken is cooked I roughly chop it up.
There you have it...homemade lebanese shawarmas! Serve it family style...it will make for a fun dinner!

Thursday, July 21, 2011

Cooking with Bacon will save your marriage!!

I swear it can!!!

Or your relationship, friendship, courtship whatever significant other you have.

If you have anything on the rocks...cook them bacon!

ESPECIALLY the following dish. This made my husbands co-workers salivate! He came home so proud, that his wife made him such an amazing side dish that made him the popular boy at work. Men can be so easy to please ;)

Potato Bacon Cheddar Tart!

Take 5 medium sized red potatoes and thinly slice.


 I am sure using a mandolin would be totally easier...but I am scared poopless of loosing a finger with those contraptions...so I just used a very sharp knife and patience!
 Grate about 2 1/2 cups medium cheddar cheese, set aside
 In an oven proof container use 1 whole package of bacon and arrange around like so.
 leave the ends hanging out like this
 now start layering your tart. Layer your potatoes
 some fresh ground pepper
 Cheese
 Potatoes
 Pepper
 Cheese
 Keep on layering until you run out of potatoes or get to the top of the container, making sure that the cheese is the last layer on top.
 Now fold over all the bacon that was hanging off the container.
 When you are done you will have a sort of bacon volcano!
 I usually put an oven proof pot over the container to help smush down the bacon volcano. Place in a 325F oven for at least 3 hours, ladling out excess bacon fat every hour.
 After the 3 hours your bacon should be all crispy and wonderful and your house should smell amazing.
 As soon as I removed the tart from the oven I placed it on an oven rack with a plate underneath, just to render out any leftover grease...plus its too hot to eat right away anyways.
Once its cooled down a little, slice and serve.
 Sit back, and bask in the foot massages your significant other will be
giving you for making such a wonderful dish!

Wednesday, July 20, 2011

Asparagus and Mozzarella Cheese Stuffed Chicken Breasts

This was a quick and easy weeknight meal we made. Anything that you can put together in 10 minutes and stick in the oven is pretty high up there in my books!

However, with this sticky weather..I definitely do not want to turn on my oven. ANYTHING to conserve the nice cool air conditioned atmosphere I have been living in!

Asparagus and Mozzarella Cheese Stuffed Chicken Breasts


 Slice up 1 Mozzarella ball and a large handful of trimmed asparagus (enough for 2 or 3 per chicken breast)
 I purchased 5 butterflied chicken breasts. But you can either butterfly them yourself or pound them flat. Season with Salt and Pepper.
 Add your mozzarella and asparagus to the middle of the chicken breasts, and roll up.
 I a large casserole dish ladle some marinara sauce on the bottom (I was too lazy to make some myself...so I  used the stuff out of a jar...GASP...yes i did...sorry)

 Place the rolled chicken breasts over the sauce.


 Top with more marinara sauce and freshly grated Parmesan cheese.

 Bake in a 350F oven for 30-35 minutes or until chicken is cooked through.
I  wish I was a better photographer...this doesn't look nearly as good as it tasted!!